Sunday, April 29, 2012
Step Up for MS
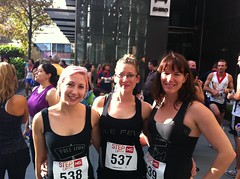
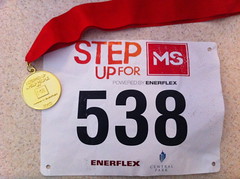
Today I climbed the Central Park building with the Pole Fever Girls to help raise money for the MS Society. The Central Park building is Perth's tallest, and comprises of 52 flights, 1096 steps, and a whole lot of pain!
It was pretty brutal, but I managed to complete the climb in 15 minutes, no where near the world record of 5mins 40secs (very impressive!). All together we managed to raise $795 for a worthy cause, something I'm sure I will have to keep in mind tomorrow when the soreness kicks in.
Sunday, April 15, 2012
How to make a Teabag Outfit (for a T Dress-up Party)
Last night I went to a dress up party where the theme was to dress up as something starting with the letter T to celebrate Tammy's birthday. Since this lined up with the day my hair went pink, I decided to go as (strawberry) Teabag. I thought I'd document the making-of the giant teabag costume in case for some strange reason someone else might want/need to make one!
I started off by looking at an actual teabag, and decided that it would be fun to recreate a giant realistic version. I took a look at how the material made up the teabag, and thought it would be quite easy to make out of crepe paper.
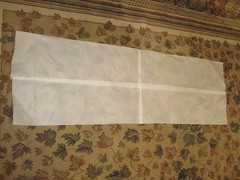
Firstly I laid out 4 large pieces of thin white tissue paper, and sticky taped them together:
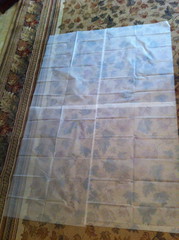
I made two folds parallel to the longest edge of the giant rectangle so that the ends met each other forming a tube of crepe paper, then I sticky taped the two edges together:
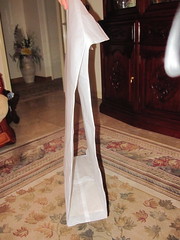
Folding the giant tube in half gives the two "compartments" of the teabag:
I used a piece of cardboard to make the bottom flat:
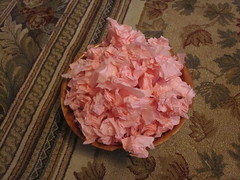
Scrunched up pieces of pink crepe paper made up the "tea" filling:
I split the "tea" in half and filled up each of the sides of the teabag:
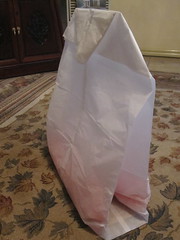
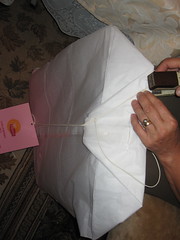
The top of the teabag is made by folding each corner in, and then folding the centre over itself. I used quite a bit of sticky tape (and help from my mum!) for this part:
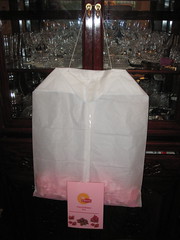
The whole contraption hung around my neck via a long piece of twine that was stapled to the teabag in two places. On the end of the twine, I tied the teabag "tag", which I made by laminating a pink A4 piece of paper folded in half. I made the design on the tag myself using the real lipton logo and some random pictures of strawberries:
And that's it!
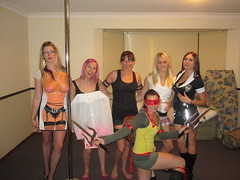
Needless to say, I was the only Teabag at the party! There were so many clever outfits, including Tomb Raider (Tammy!), Topless waitress, Teacher's Pet, Toy solider, Teenage mutant ninja turtle, Traffic lights, Terence (from Terence and Philip), Tweedle Dee, a Tourist, and so many more. I love dress up parties!
Saturday, April 14, 2012
About to Have More (girly) Fun
Monday, April 9, 2012
Making Oua Rosi with Mina
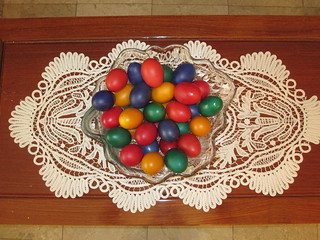
Along with eating and drinking way too much in one day, an Easter tradition in our family is to make coloured boiled eggs called Oua Rosi (which literally means red eggs in Romanian, even though they're all different colours).
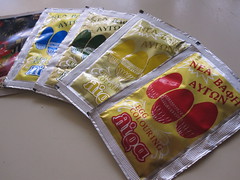
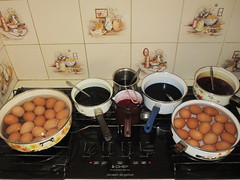
This year, Mina and I made a batch of 30 eggs in red, yellow, blue and green. We used powdered egg colouring from the ReStore.
We didn't quite follow the instructions on the packet (which suggested boiling the eggs in the colouring for 15minutes), but instead we pre-boiled the eggs and dipped each one in the colouring until it was nice and bright. The instructions also mentioned to add vinegar in the last couple of minutes of boiling, but we just added that at the start when we mixed up the pots of colouring in boiling water.
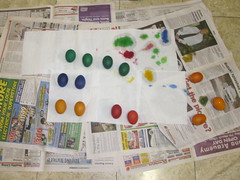
After taking the eggs out, we dried them off on a bunch of layers of newspaper and paper towels, making sure to roll each egg as it dried so that there wouldn't be too much of a spot on the bottom. This definitely made for some interestingly coloured paper towels!
The last step is to rub each egg with a lightly oiled cloth (any cooking oil will do) so that they get really shiny. I think they turned out really beautiful!
Subscribe to:
Posts (Atom)